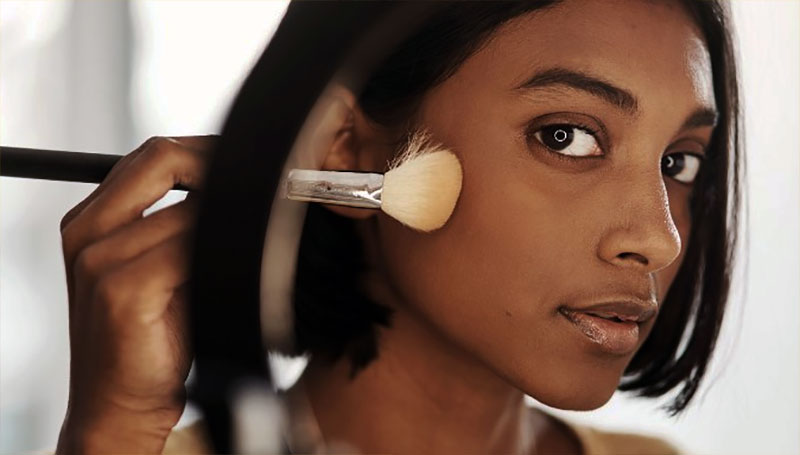
Looking your best has never been easier with Face Baking! This trend is no longer just about makeup – it’s a step-by-step process for achieving the perfect look. From priming to setting, here are some tips on how you can get glowing skin in minutes and enhance your natural beauty.
Face baking steps
Start with the right base
Make sure you have a smooth, even complexion before baking your face. Start by applying primer and then your desired foundation. Use a semi-matte finish foundation that won’t settle into fine lines or wrinkles for the best results.
Highlight and Contour Properly
Choose a light shade of powder or cream to highlight your face, such as your cheekbones, browbone, and bridge of the nose. You’ll also want to contour with a darker shade in areas where you want to bring out more definition. Be sure to blend properly so you don’t end up with harsh lines.
Set with Translucent Powder
Baking your face requires a setting powder to lock in your foundation and create that airbrushed look. Choose a translucent powder to set the base of your makeup so it can last throughout the day. Make sure you apply it generously and take some time to blend it out properly, so you don’t end up with a cakey look.

The Dos and Don’ts of face baking for a flawless finish
From priming to setting, Face Baking is the key to achieving a picture-perfect makeup look. But alongside simple tips on how best to bake your face into perfection, there’s also important advice about what not do – and with these Do’s & Don’ts you can ensure that flawless finish every time!
DO
- Start with a clean canvas. Gently wash your face with a mild cleanser and rinse off any dirt, oil, or makeup residue before beginning the baking process.
- Apply an even layer of primer to help keep your makeup in place for longer and create a smooth surface for easy blending.
- Dust a light layer of translucent powder over your T-zone and/or under the eyes to absorb excess oil and ensure that the baking powder has something to adhere to.
- Pat on a generous amount of baking powder with a damp beauty sponge, ensuring it is even and well blended.
- Allow the powder to set for 10 minutes, then brush off the excess.
DON’T
- Don’t forget to blend! Take your time when blending in the baking powder to ensure seamless coverage and avoid unsightly lines or streaks.
- Don’t go overboard with the amount you use; too much powder can lead to a chalky finish and accentuate any dry patches you may have.
- Don’t forget to set your makeup after baking with a light mist of setting spray to seal in the powder and keep it looking fresh all day long.
- Don’t apply too much pressure when pressing the powder into your skin; use a gentle tapping motion instead to avoid disturbing your makeup.
- Don’t forget to wash off all baking powder at night; leaving it on can clog pores and cause breakouts.
Follow these Do’s & Don’ts and you’ll be well on your way to achieving a flawless finish every time!


